

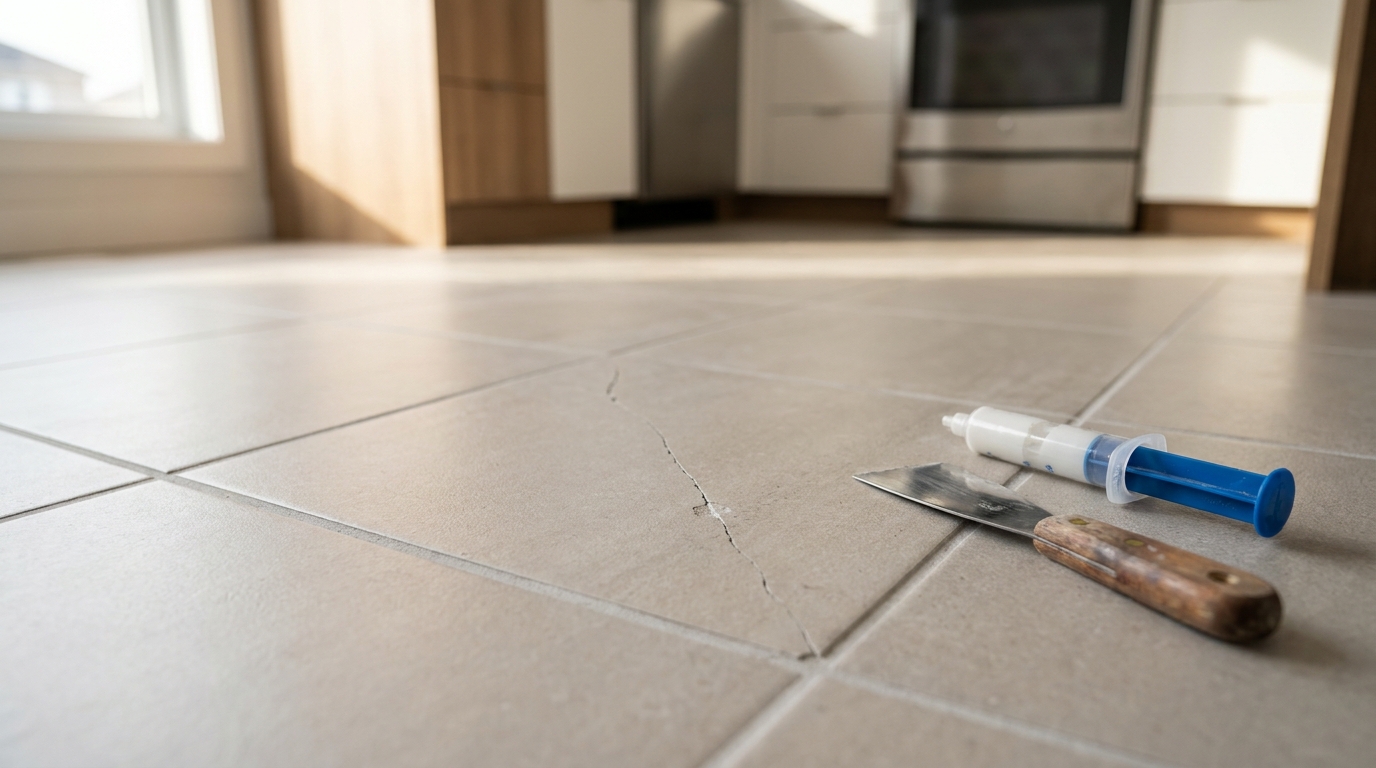
Quick Facts
| Item | What to know |
|---|---|
| Skill level | Beginner for an epoxy fill, intermediate for replacing a tile |
| Hands-on time | A few hours, usually spread over one to two days because adhesive and grout need time to cure |
| Main materials | Two-part epoxy or a tile repair kit, or a matching tile, thin-set mortar, and grout |
| Common tools | Grout saw or utility knife, hammer and chisel, notched trowel, putty knife, sponge, safety glasses, gloves |
| Good DIY jobs | Hairline cracks, small chips, and a single damaged tile with a close match available |
| Call a professional when | Cracks run across several tiles, the floor feels bouncy, or there are signs of water damage |
Why a Cracked Tile Should Not Be Ignored
Learning how to repair a cracked tile early matters because a crack is more than a cosmetic flaw. According to Home Depot’s repair guidance, a cracked floor tile can open a path for moisture to reach the subfloor, and water can also trickle behind a cracked wall tile in a shower or bath. Left alone, that hidden moisture can damage the surface underneath long before the tile itself looks any worse, which is why most guides recommend dealing with cracks as soon as you notice them.
Find Out What Caused the Crack First
Before you settle on how to repair a cracked tile, it helps to work out why it cracked, because the cause decides whether a simple fix will last. Tile guides such as the Mr. Handyman repair article point out that an impact, such as a dropped pot or a heavy object, usually leaves no underlying problem to solve, so a repair or a single replacement is enough. Other common causes listed by home-improvement sites include poor installation, temperature changes, and excessive weight on the floor.
Movement is the cause that deserves the most caution. Tile consultants note that a wooden subfloor which flexes more than industry limits can break the bond under the tile and crack the grout, and cracks that line up across several tiles or return after a repair often point to this kind of movement rather than a one-off accident. In that situation a patch only treats the symptom, so the structure below needs attention first.
A quick check can also tell you whether the tile is still well bonded. Tap the surface gently with a knuckle or the handle of a screwdriver and listen for a hollow sound, since a hollow tile has lost contact with the mortar beneath it and is unlikely to stay put even if the crack is filled.
Repair or Replace? How to Decide
Advice online is not fully consistent on this point, and it helps to know why. Several repair guides, including those from Angi and Bob Vila, describe epoxy as a workable fix for hairline cracks, while a tile retailer’s how-to article notes that even a tiny hairline crack usually runs all the way through the tile. Some home-improvement community discussions go further and say replacement is the only permanent solution. The most reasonable reading of these views is that a filled crack seals the surface and hides the damage but does not restore the tile’s original strength.
| Situation | Usually the better choice |
|---|---|
| Hairline crack in a tile that sounds solid when tapped | Epoxy fill, accepting that a faint line may remain visible |
| Small chip, roughly under 5 mm according to one tile retailer | Colour-matched filler or epoxy putty |
| Wide crack, crack in several pieces, or a hollow-sounding tile | Replace the tile |
| Cracked tile in a shower, tub surround, or other wet area | Replace the tile and inspect behind it |
| Several cracked tiles in one area or a crack that keeps returning | Investigate the subfloor, and consider a professional |
Replacement is also the safer route when the tile is part of a high-traffic floor, because a patched crack can open up again under constant weight. The trade-off is that removing a tile carries a small risk of damaging its neighbors, which is one reason some guides suggest repairing minor cracks first.
Tools and Materials You Will Need
For an epoxy repair you will need a two-part epoxy or a complete tile repair kit, painter’s tape, a small putty knife or razor scraper, rubbing alcohol or a mild cleaner, rags, gloves, and a ventilated workspace. Angi notes that repair kits are designed for small jobs such as one or two damaged tiles and often cost less than buying each item separately, though prices differ widely between stores and no single figure applies everywhere.
A replacement job needs a few more items: a grout saw or oscillating tool, a drill with a masonry bit, a hammer and chisel, a scraper for old mortar, a notched trowel (Home Depot’s guide specifies a 1/4-inch notch for its example), thin-set mortar, tile spacers, grout that matches the existing joints, a sponge, and a replacement tile. Safety glasses, gloves, and a dust mask are sensible for any step that involves chiseling, because broken tile edges are sharp and the dust is unpleasant to breathe.
How to Repair a Cracked Tile With Epoxy for Hairline Cracks

An epoxy fill suits a tile that is still firmly attached and has only a fine crack. The steps below follow the approach described by most major repair guides, with a few extra precautions.
- Clean the tile and the area around it so that no dirt, grease, or debris sits in the crack, then let everything dry completely. Bob Vila’s guide stresses this step because epoxy bonds poorly to a dirty surface.
- Apply painter’s tape along both sides of the crack to keep the epoxy off the rest of the tile and the grout lines.
- Mix the two-part epoxy exactly as the label directs. Epoxy and resin products give off fumes, and Bob Vila notes they are relatively safe in small amounts when handled properly, so open a window and wear gloves.
- Press the epoxy into the crack with a small putty knife, working along its length and leaving it slightly raised above the surface so it can be leveled after it firms up.
- Scrape away the excess with a flat edge before the epoxy hardens fully, remove the tape, and wipe off any smears with a cloth.
- Let the product cure for the time printed on its packaging, then decide whether to touch it up with paint or a tile-safe colorant. Angi cautions that painting is not a perfect solution, so expect the repair to remain somewhat visible.
If the crack sits beside a grout line, it is worth checking the grout at the same time and filling any gaps, since water tends to enter through the weakest point of the surface.
How to Repair a Cracked Tile by Replacing It
Replacement is the more durable answer for a tile that is broken through, loose, or located where water exposure is likely. Before you begin, confirm that you have a matching tile, since a mismatch will draw more attention than the original crack. Leftover tiles from the original installation are ideal, and some retailers suggest ordering around 10 percent extra at installation for exactly this situation.
- Protect the surrounding floor with tape or a drop cloth and put on safety glasses and gloves.
- Remove the grout around the damaged tile with a grout saw or an oscillating tool, taking care not to scratch the neighboring tiles.
- Break up the tile from the center outward. Drilling a few holes in the middle first, then chiseling toward the edges, lets the pieces come away without pushing force sideways onto the tiles beside it.
- Scrape the old mortar from the bare floor until the spot is clean and level. Tile suppliers warn that leftover thin-set creates an uneven result and can cause lifting later, so this step deserves patience. While the area is open, look for damp patches, soft spots, or damaged backing, because those problems are far easier to fix now than after the new tile is down.
- Dry fit the new tile to confirm that it sits level with the surrounding surface and that the joints are even.
- Spread thin-set on the floor with the flat side of a notched trowel and then comb it with the notched side, as described in Home Depot’s example. Many installers also coat the back of the tile thinly so that it makes full contact with the mortar.
- Press the tile into place with a slight wiggle, check it with a straightedge against its neighbors, and insert spacers to hold the joint width.
Cure Times, Grouting, and Sealing
Patience after the tile is set is what separates a lasting repair from one that fails in a few weeks. Most guides agree that thin-set mortar needs about 24 hours before grouting or foot traffic, and some recommend waiting up to 48 hours when the room is cold or humid, so the product’s own instructions should win over any general rule. Quick-setting mortars can be faster, but they come with their own conditions.
Once the grout has been applied and the haze wiped away with a damp sponge, avoid walking on the area for roughly a day and keep heavy loads off it for longer. Published cure times for cement grout vary from about 24 to 72 hours before heavier use, and one flooring guide puts full strength as long as a week, but these figures differ between sources and products and are not a universal standard. Sealing the grout after it has fully cured helps limit staining and water absorption, as Home Depot’s guide recommends.
Repairing a Cracked Wall Tile in a Shower or Bathroom
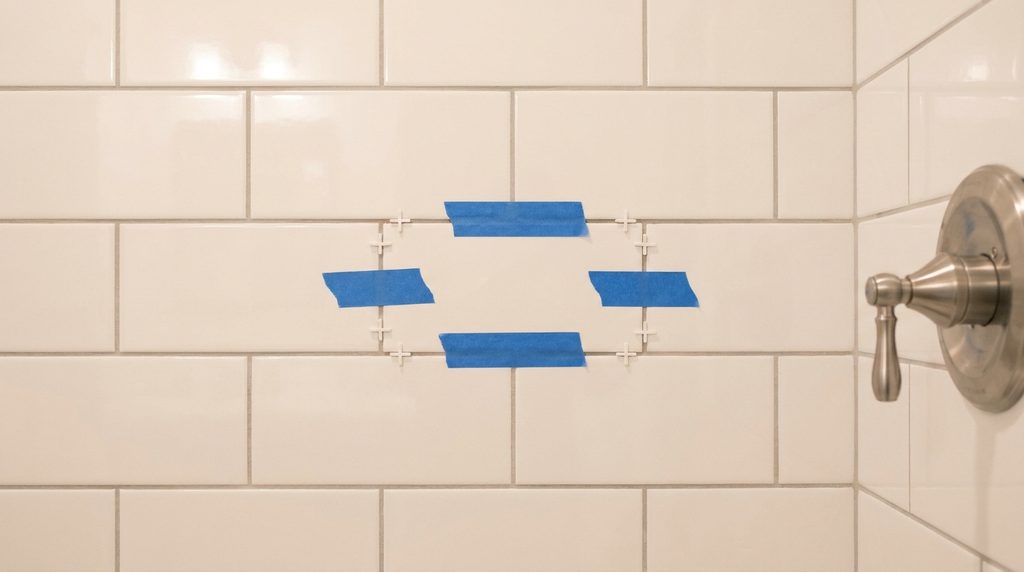
The same principles apply when you need to know how to repair a cracked tile on a wall, but the stakes are higher in wet areas. Water behind a damaged shower tile can reach the wall structure, so replacement is generally preferred over an epoxy fill, and the exposed area should be inspected before the new tile goes in. One tile-industry resource suggests checking for water damage behind the wall and repairing the waterproofing membrane if one is present, then setting the new tile with a mortar rated for wet areas.
Wall tiles also need support while the adhesive sets, because gravity will pull a fresh tile out of line. Painter’s tape holding the tile against its neighbors for the first day is a common and inexpensive way to keep it aligned. Avoid using the shower until the grout and any sealer have cured for the time stated on the product, since early water exposure can undo the repair.
How to Prevent Tiles From Cracking Again
Prevention starts with treating the cause you identified earlier. Placing felt pads under heavy furniture, avoiding dropped weights on hard floors, and keeping a few spare tiles from the original batch all reduce the odds of a repeat problem. If the cracks came from movement, installers typically address the subfloor stiffness or use a suitable underlayment during a re-tile rather than relying on grout or adhesive alone.
Keeping grout joints intact also protects the tiles, since failed grout lets water and stress reach the edges where cracks often begin. A yearly check for loose, hollow, or chipped tiles makes it easier to catch a small problem before it spreads.
When to Call a Professional
A professional is worth the cost when the crack is part of a bigger pattern, such as a line of cracks across several tiles, a floor that flexes underfoot, or a shower with visible mold or water staining behind the tile. Experienced tilers can also handle tiles that are difficult to match, large-format tiles that need full mortar coverage, and valuable or antique tile that you cannot afford to damage. If the project starts to feel out of hand partway through, guides from handyman services and tile suppliers both advise stopping and getting help rather than forcing it, and the same caution applies to very old floors where adhesives or vinyl tiles may contain asbestos and should be tested before anything is broken up. If you are unsure how to repair a cracked tile in a situation that matters, such as a wet room, a quick consultation is usually cheaper than correcting a failed repair.
Frequently Asked Questions
Can I use superglue on a cracked tile?
Some repair guides, including one from a handyman service, say that certain superglues work on tile when the product is designed for it, followed by sanding and painting. It remains a cosmetic fix for a small crack, and the manufacturer’s label should confirm that the glue is suitable for the tile and the location.
Is a cracked tile the same thing as cracked grout?
No, they are separate problems with different remedies. Grout cracks appear in the joints between tiles and can usually be raked out and refilled, whereas a crack in the tile itself means the tile has broken and needs filling or replacing.
What can I do if I cannot find a matching tile?
Check whether the original installer left spare tiles, and consider taking a matching tile from a hidden spot, such as inside a closet, to use as the replacement and then fill that hidden spot with something else. One tile guide suggests that if no match can be found, living with the crack while you plan another solution may be wiser than installing an obvious mismatch.
Is porcelain harder to repair than ceramic?
Porcelain is generally denser and harder than ordinary ceramic, so drilling and chiseling it out takes more effort and care, and a sharp masonry or tile bit helps. The repair steps stay the same, but expect the removal stage to take longer.
How much does it cost to repair a cracked tile?
Costs vary too much to give one reliable number, and different guides quote different figures for a do-it-yourself replacement. Your total depends on whether you buy a kit or separate materials, how difficult the tile is to match, and whether you hire help, so it is best to price the specific materials locally.
How long will an epoxy repair last?
There is no publicly confirmed lifespan for epoxy tile repairs, since it depends on the product, the width of the crack, and how much traffic the area receives. Treat it as a way to seal and tidy a minor crack, and plan to replace the tile if the crack widens or the tile starts to feel loose.
Conclusion
Knowing how to repair a cracked tile comes down to matching the method to the damage: epoxy for fine cracks in firmly bonded tiles, and replacement for broken, loose, or wet-area tiles. Spending a few minutes on the cause, the tap test, and the cure times will do more for the result than any particular product, and a careful job should keep the surface sealed against water for a long time.
Disclaimer
This article is general information for household repairs and is not a substitute for professional advice. Product instructions, local building rules, and safety requirements vary, so follow the manufacturer’s directions for any epoxy, adhesive, or grout, wear suitable protective equipment, and consult a qualified tiler or contractor if you suspect structural movement, water damage, or hazardous materials.
Explore More
Septic Tank Emptying Upper Walthamstow: What E17 Homeowners Need to Know

I’m Muhammad Ubaid, founder of YBR Magazine. I research and write detailed guides on America’s National Parks — covering entry fees, permits, best times to visit, and planning tips — using official NPS sources and up-to-date information.